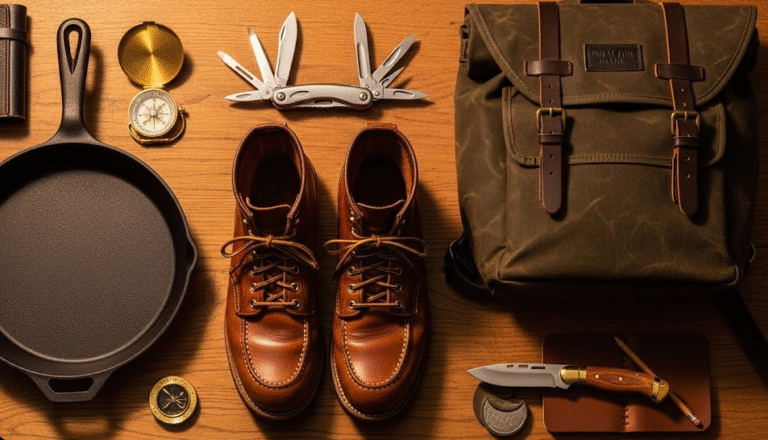
BIFL Maintenance Calendar: Lifetime Care for Durable Goods
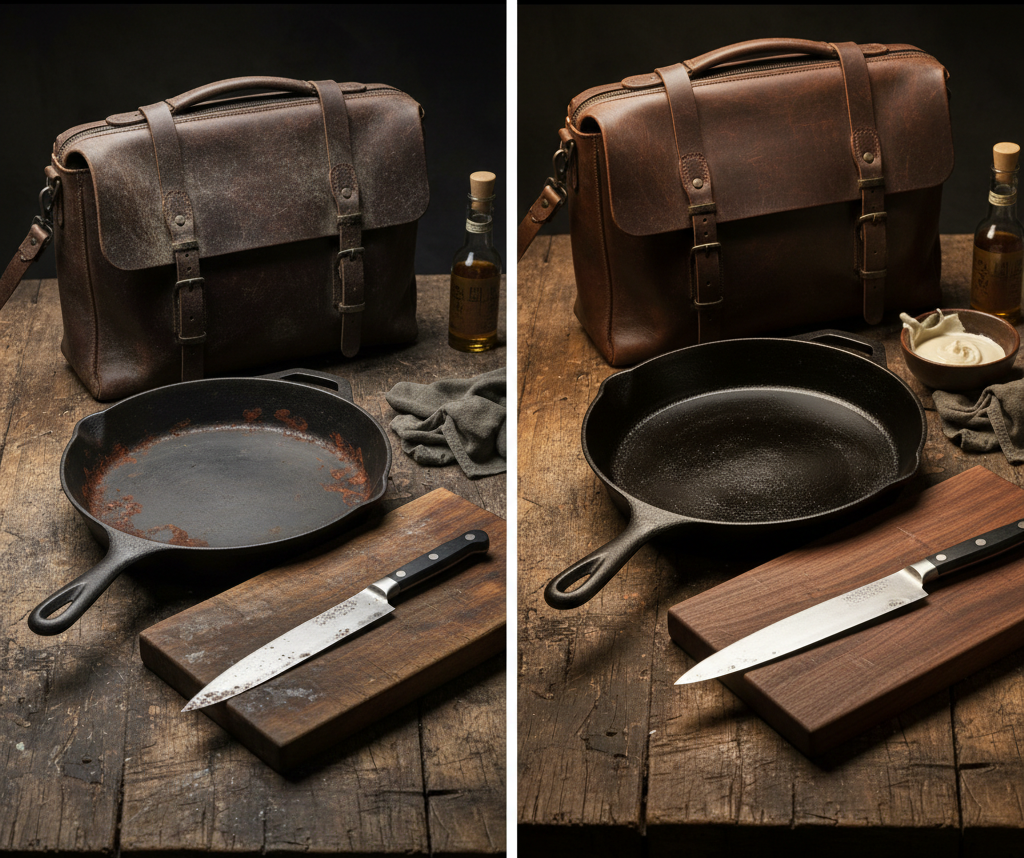
You’ve done the research. You’ve invested in that beautiful, full-grain leather bag that should last forever. You bought the heavy cast iron skillet that chefs swear by. You’ve consciously chosen quality over disposability. But after a few years of loving use, that exquisite leather on your bag looks dry and thirsty, and is that a small, insidious spot of rust forming on your prized skillet? The truth is, “Buy It For Life” is only half the battle. The initial smart purchase is just the beginning of the journey. That’s why we designed this unique BIFL maintenance calendar.
The secret to making quality goods last not just for your lifetime, but for generations, isn’t a hidden trick. It’s routine, consistent care. The “Buy It For Life” philosophy isn’t just about making an astute purchase; it’s about embracing active ownership. These durable items aren’t meant to be neglected; they are designed to be cared for, to age gracefully, and in return, they will reward you with unparalleled performance and longevity that cheap, disposable products can never hope to match.
Consider this guide your definitive, missing instruction manual for your most cherished durable goods. We’ve meticulously created the ultimate product care calendar, a simple, actionable guide broken down by material. Within these pages, you’ll master the correct techniques for perfect cast iron seasoning, learn precisely how to maintain leather so it ages beautifully, discover a foundational knife sharpening guide, and much more. It’s your go-to, bookmark-worthy resource for protecting your investments and ensuring they truly last a lifetime.
Unlock the lifespan of your valuables!
Discover the simple routines that transform ownership into a legacy. Your durable goods deserve it.
The Maintenance Mindset: A Little Effort, a Lifetime of Reward
Why a 5-Minute Task Each Month Beats a Costly Repair Each Decade
The very thought of adding “maintenance” to your already busy schedule can feel like a burden. But in reality, adopting a routine maintenance mindset for your durable goods is about performing small, consistent actions that pay immense dividends over time. It’s about leveraging preventative care to avoid major headaches and expenses down the road.
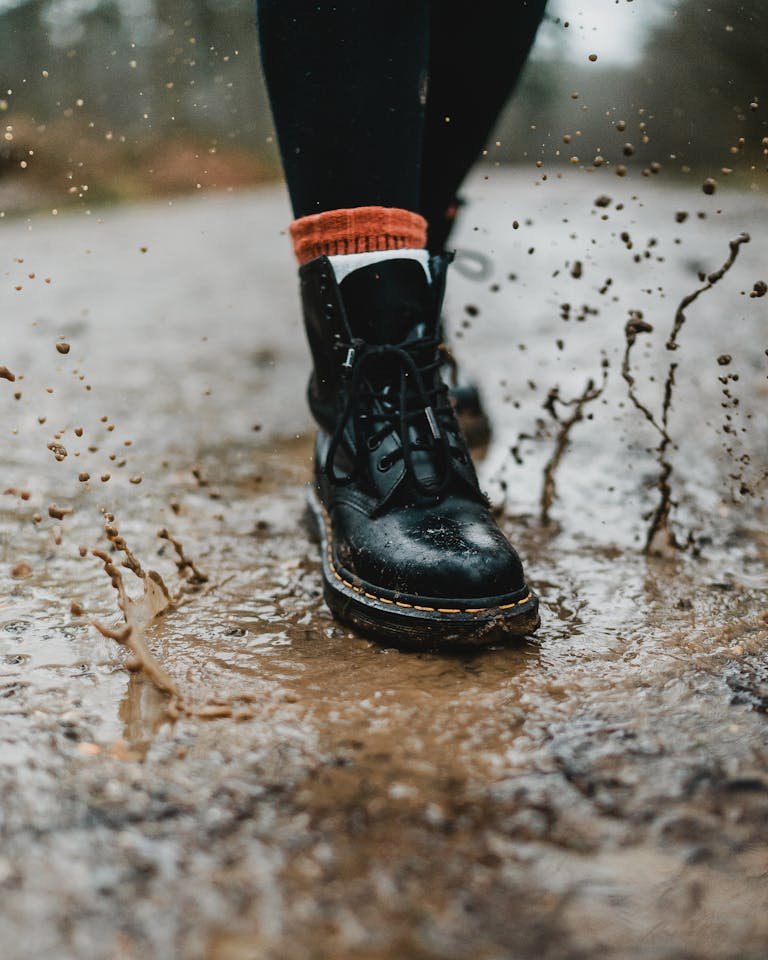
- Prevention is Cheaper than Curing: Imagine this: a small dab of high-quality leather conditioner today can prevent deep, unsightly, and often irreversible cracks from forming in your beloved boots years from now. Similarly, a quick wipe of oil on your cast iron skillet after washing is a minor effort that actively prevents stubborn rust, which would otherwise require a time-consuming and arduous stripping and re-seasoning process. These small acts save you significant time, money, and frustration in the long run.
- Performance Enhancement: Maintenance isn’t merely about preservation; it’s fundamentally about optimizing performance. A sharp kitchen knife is not only dramatically more effective at slicing, dicing, and chopping. It’s also significantly safer to use than a dull one, which is prone to slipping. A meticulously seasoned cast iron pan evolves into a naturally non-stick surface, making cooking and cleanup an absolute breeze.
- Building Character and Story: The truly most beautiful and cherished Buy It For Life items are those that tell a rich, unique story. That deep, lustrous, dark patina on a well-used leather wallet or watch strap? That’s not an accident; it’s the direct result of years of careful handling, consistent conditioning, and diligent care. That impossibly smooth, glassy black surface on a vintage cast iron pan? It’s built up from hundreds of perfectly cooked meals, each contributing to its unique character. Maintenance is the profound process through which an item transcends its original form, transforming from a factory-new product into a unique, personal heirloom, imbued with your history and care.
“The things we care for, care for us in return. A well-maintained tool becomes an extension of the hand, seamlessly integrating into our lives with reliable grace.”
The Material-by-Material Maintenance Guides: Your Hands-On How-To
Now, let’s get down to the practicalities. Here are the essential, step-by-step care routines for some of the most common materials found in BIFL goods. Follow these straightforward steps to dramatically extend the life, enhance the aesthetic, and maximize the performance of your favorite items.
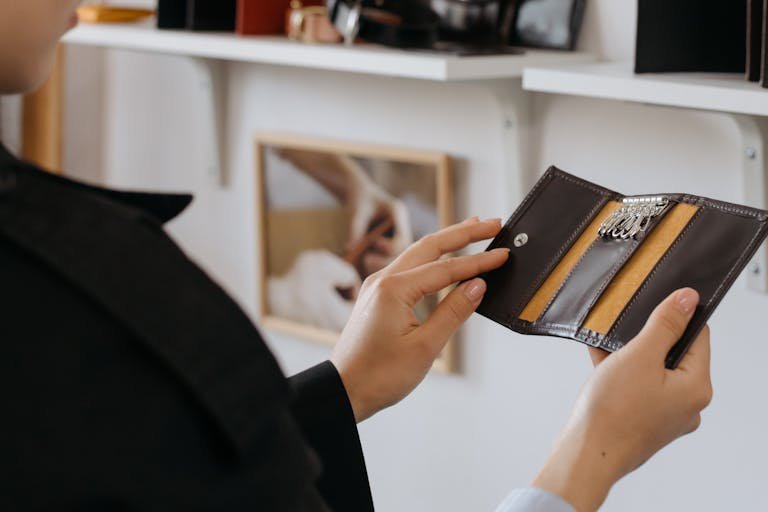
Full-Grain Leather Goods (Bags, Boots, Belts, Wallets)
How to Maintain Leather and Build a Beautiful Patina
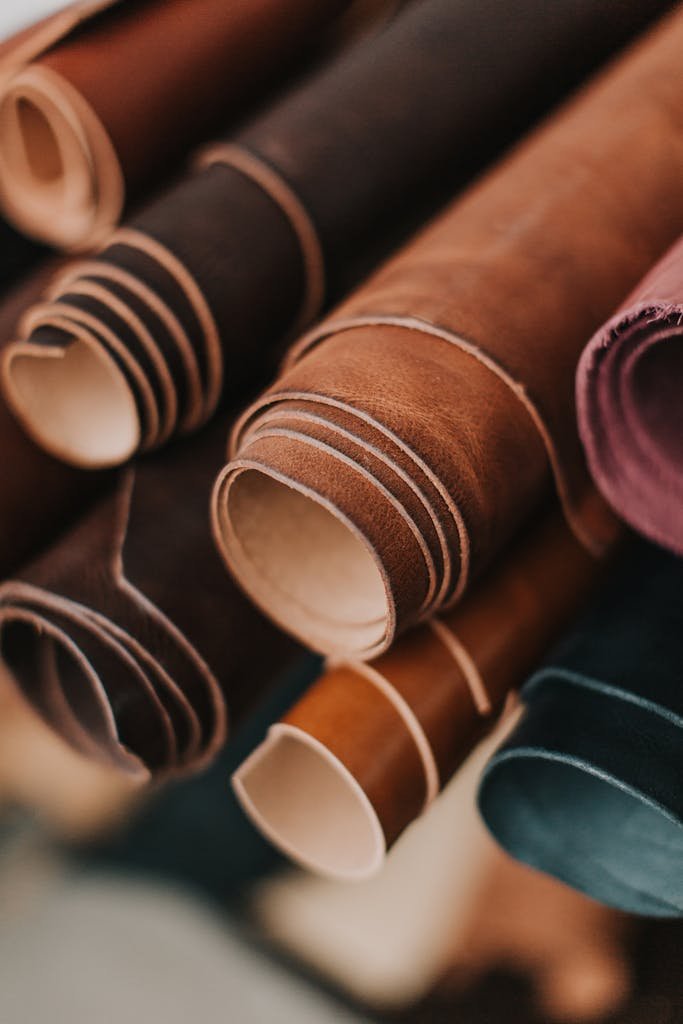
High-quality full-grain leather is a remarkable natural material. At its core, it’s essentially an animal skin, and much like our own skin, it contains natural oils (technically called “fatliquors”) that keep it supple, strong, and flexible. Over time, however, consistent exposure to elements like direct sunlight, harsh changes in humidity, and everyday friction can deplete these vital oils. This depletion leads to the leather becoming stiff, prone to cracking, and losing its vibrant luster. Proper, routine product care for leather isn’t just about cleaning. It’s about replenishing these essential oils and fortifying the leather against the rigors of its environment, allowing it to develop that coveted, rich patina.
- Tools You’ll Need: A dedicated horsehair brush (for thorough cleaning), several soft, clean cloths (old cotton t-shirts work excellently), a specialized leather cleaner (optional, for tackling heavier dirt and stains), and a high-quality leather conditioner. Popular choices include Bick 4 for a neutral, non-darkening conditioning, or Saphir Renovateur for a richer, more intensive treatment.
- Frequency: Clean your leather goods as needed—whenever they accumulate visible dirt. The crucial conditioning step should be performed every 6 to 12 months. However, if your leather items, such as boots, are frequently exposed to harsh weather conditions (rain, snow, extreme dryness), they may benefit from more frequent conditioning.
The Step-by-Step Leather Conditioning Process:
- Clean Thoroughly: Begin by using your horsehair brush to vigorously brush away any loose dirt, dust, and accumulated grime from the entire surface of the leather. This initial step is paramount. For more stubborn dirt or stains, apply a small amount of your specialized leather cleaner to a damp cloth and gently wipe the affected areas. Allow the leather to dry completely before proceeding.
- Condition with Care: Take a small, pea-sized amount of your chosen leather conditioner and apply it to a clean, soft cloth. Gently rub it into the leather in small, even, circular motions. Observe how the leather absorbs the conditioner—it should appear slightly darker, richer, and more supple. Remember, a little conditioner goes a surprisingly long way. Allow the conditioner to absorb fully, which typically takes at least 20-30 minutes, though for very dry leather, leaving it overnight can be beneficial.
- Buff to a Luster: Once the conditioner has been completely absorbed and the leather no longer feels tacky, take a clean horsehair brush or a fresh, clean cloth and buff the entire surface. This action removes any residual excess conditioner and, more importantly, brings out a beautiful, natural, soft luster, revealing the leather’s inherent depth and character.
💡 Pro Tip: Always Spot Test First!
Leather can react differently to various conditioners. Some products may subtly darken the leather more than others. To avoid any unwelcome surprises, always test a new conditioner on a small, inconspicuous spot (such as the inside of a bag flap or the tongue of a boot) to observe its effect on the color and texture before applying it to the entire item.
Cast Iron Cookware (Skillets, Dutch Ovens, Griddles)
The Definitive Guide to Easy Cast Iron Seasoning and Care
The “seasoning” on your cast iron isn’t just a simple layer of oil; it’s a marvel of culinary science. It’s a layer of oil that has been chemically bonded to the iron through a high-heat process called polymerization. This creates a hard, durable, rust-proof, and remarkably naturally non-stick surface. The beauty of cast iron is that its performance actually improves with every meal you cook. The cornerstone of effective cast iron ownership lies in a consistent post-cooking routine, which effectively builds and maintains this crucial seasoning.
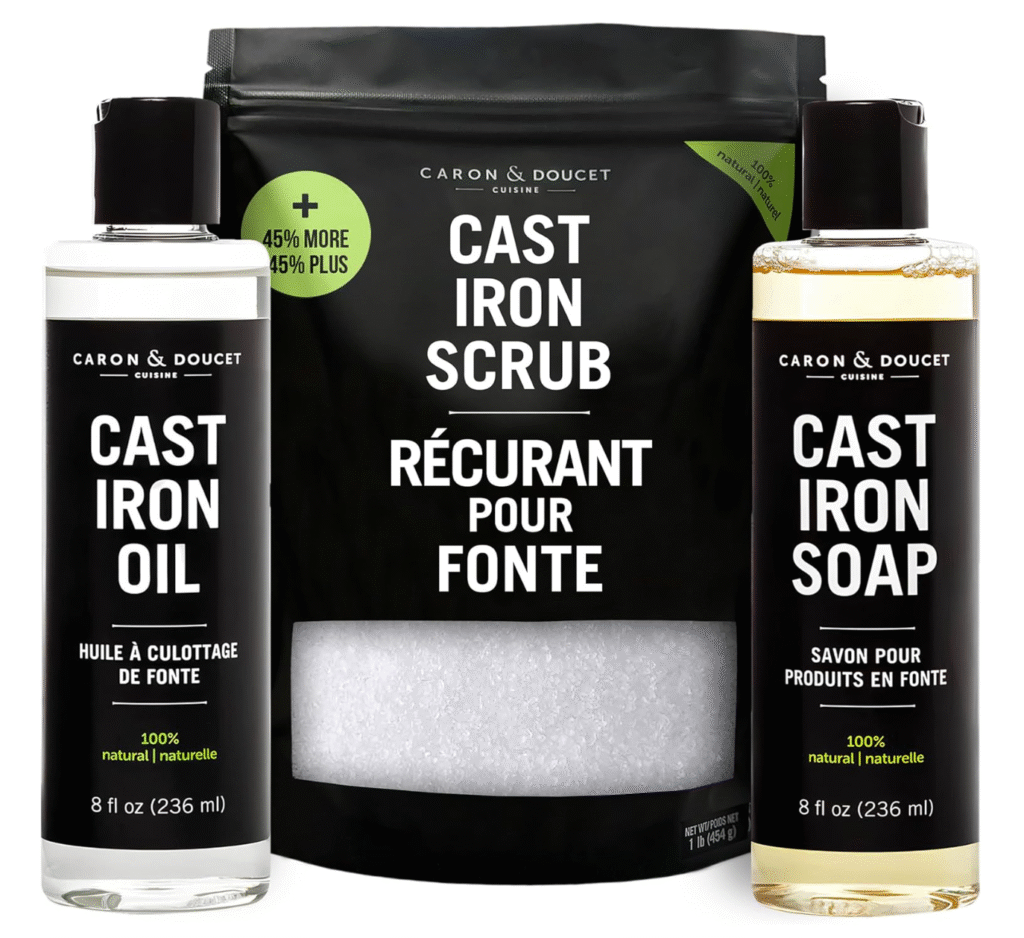
- Tools You’ll Need: A stiff-bristled brush or a dedicated pan scraper, a small amount of mild dish soap (yes, it’s absolutely okay!), paper towels or a dedicated “oil rag,” and a high-smoke-point oil (such as grapeseed, canola, or sunflower oil).
- Frequency: The essential Clean, Dry, and Oil routine should be performed diligently after every single use of your cast iron cookware. A full oven re-seasoning is only necessary if your existing seasoning layer is significantly stripped, flaking, or if rust has formed.
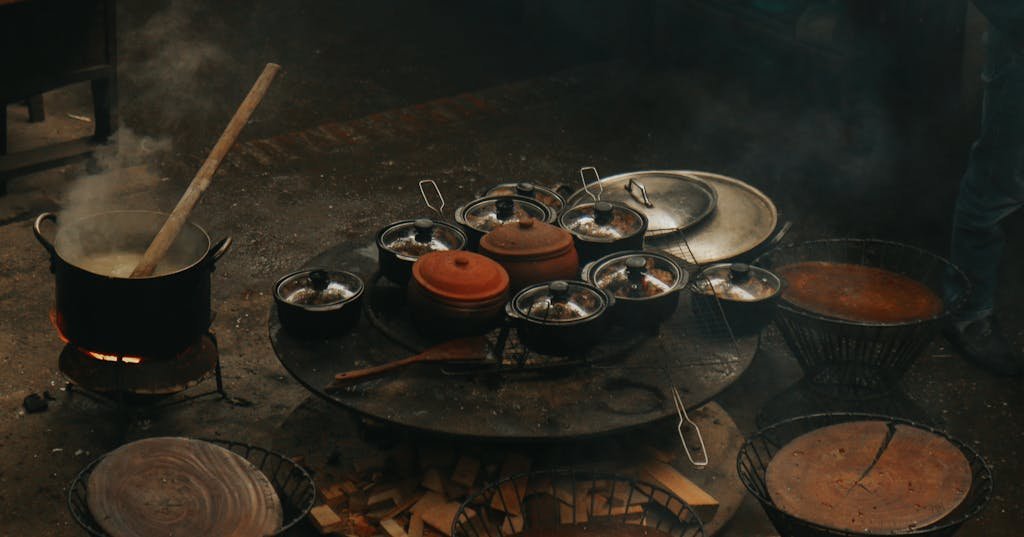
The Cast Iron Care Ritual (After Every Cook):
- Clean While Warm: While your pan is still warm (but comfortable enough to handle), scrub it thoroughly with a stiff brush and hot water. For stubborn, stuck-on food bits, a chainmail scrubber or a plastic pan scraper works wonders. Contrary to popular myth, a small amount of modern dish soap is perfectly fine and will not strip well-established seasoning.
- Dry Completely (The Golden Rule): This is arguably the most crucial step in preventing rust. Towel dry the pan immediately and thoroughly. Then, place it back on a burner over medium-low heat for a minute or two. This ensures every last trace of moisture evaporates, eliminating cast iron’s number one enemy.
- Apply a Micro-Thin Oil Layer: Once completely dry and still slightly warm, add about half a teaspoon of your chosen high-smoke-point oil to the pan. Use a paper towel to wipe a micro-thin layer of oil over the entire cooking surface, including the exterior if it looks dry. Continue wiping until the pan no longer looks visibly greasy, just glossy and uniformly dark.
- Store Properly: Allow the pan to cool completely. Store it in a dry place, ideally without other pans stacked directly on top, to prevent moisture traps.
🔥 Myth Busted: “No Soap on Cast Iron!”
Old-fashioned lye-based soaps would strip seasoning, but modern dish soaps are too mild. A small amount of soap is perfectly safe and helps remove food residue without damaging your hard-earned seasoning layer. Don’t be afraid!
High-Carbon & Quality Steel Knives (Kitchen, EDC, Outdoor)

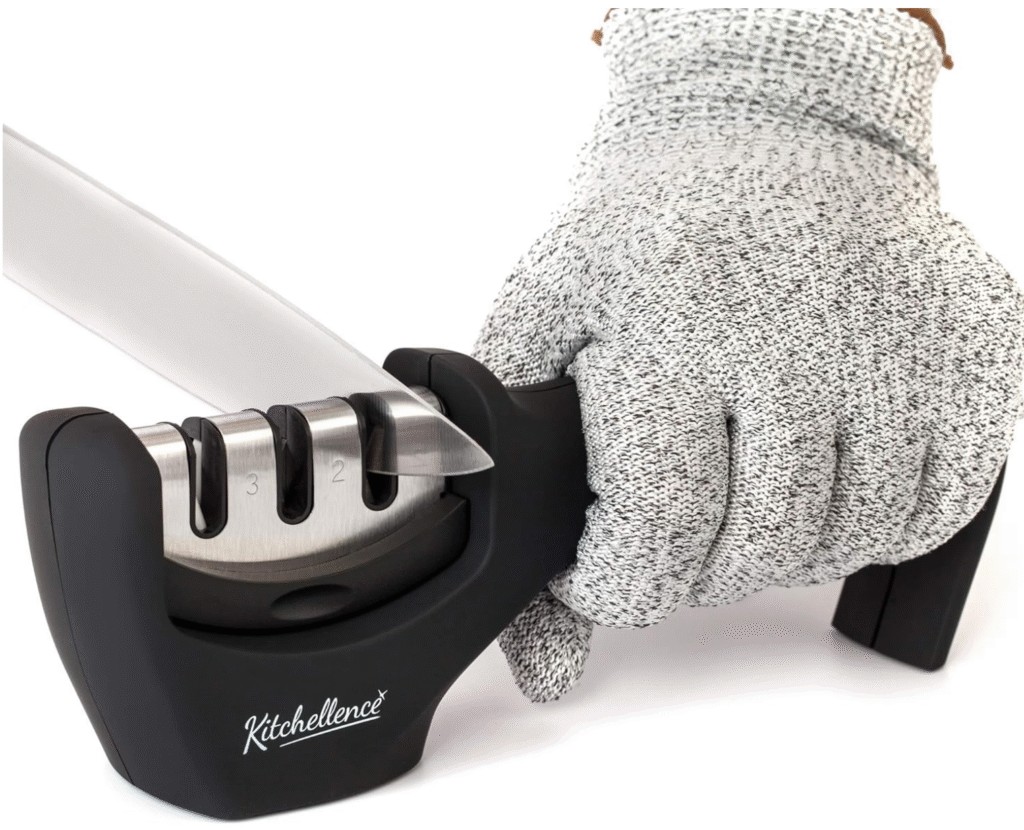
A Beginner’s Knife Sharpening Guide and Daily Care Routine
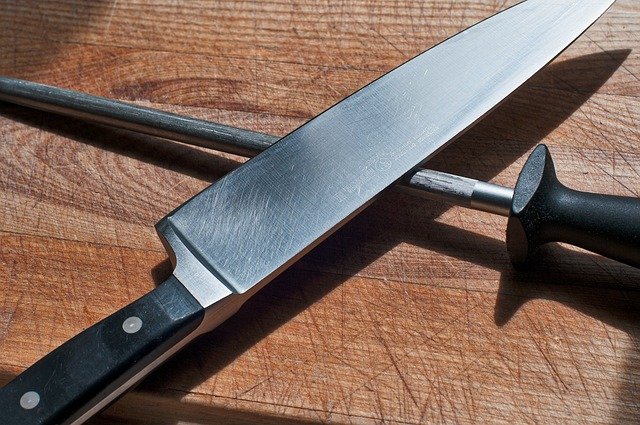
Your kitchen knife is more than just a tool; it’s an extension of your hand in the culinary process. And for any knife, whether it’s a chef’s knife, a pocket knife, or a hunting blade, a sharp edge is paramount. A sharp knife isn’t just more efficient. It’s significantly safer because it cuts predictably and requires less force, reducing the risk of accidental slips. The secret to a perpetually sharp knife lies in understanding and regularly practicing the distinction between two key actions: honing and sharpening.
- Tools You’ll Need: A quality honing steel (ceramic or steel), a reliable sharpening system (this could be a whetstone set, a guided sharpener, or even an electric sharpener), and if you own high-carbon steel blades, food-grade mineral oil to prevent rust.
- Frequency: Daily Care: Hand wash and dry immediately after every use. Honing: Frequently, ideally weekly, or even before each significant use. Sharpening: Only when honing no longer restores the edge, typically every 2-6 months for a home cook, depending on usage.
Mastering Your Knife’s Edge:
- Daily Care – Wash & Dry Immediately: This applies to all knives, but especially high-carbon steel, which is prone to rust. After use, hand wash your knife with soap and water and immediately dry it thoroughly with a towel. Never let it air dry or sit in a sink, especially after cutting acidic foods.
- Honing (Edge Alignment): Your knife’s incredibly thin cutting edge is microscopically flexible and can get bent or knocked out of perfect alignment with normal use. A honing steel doesn’t remove metal; its sole purpose is to gently realign this edge. Hold the steel vertically or at a slight angle. Gently run the blade down its length at a consistent 15-20 degree angle, alternating sides. A few light strokes per side are generally all you need to bring the edge back into true.
- Sharpening (Creating a New Edge): When your knife’s edge is actually dull (i.e., when honing no longer makes it feel sharp), it’s time to sharpen. This process involves carefully removing a tiny amount of metal from both sides of the blade to create a brand new, pristine cutting edge. While mastering a whetstone is an art that takes practice, the fundamental principle is to maintain a consistent angle (again, 15-20 degrees is common for kitchen knives) and use smooth, even strokes across the abrasive surface. For beginners, a guided sharpening system can be an excellent investment, as it helps you maintain that critical consistent angle.
🔪 Safety First: A Sharp Knife is a Safe Knife
It sounds counterintuitive, but a dull knife is far more dangerous than a sharp one. A dull blade requires more force, increasing the chance of slipping and causing injury. Prioritize sharpness for both efficiency and safety in the kitchen.
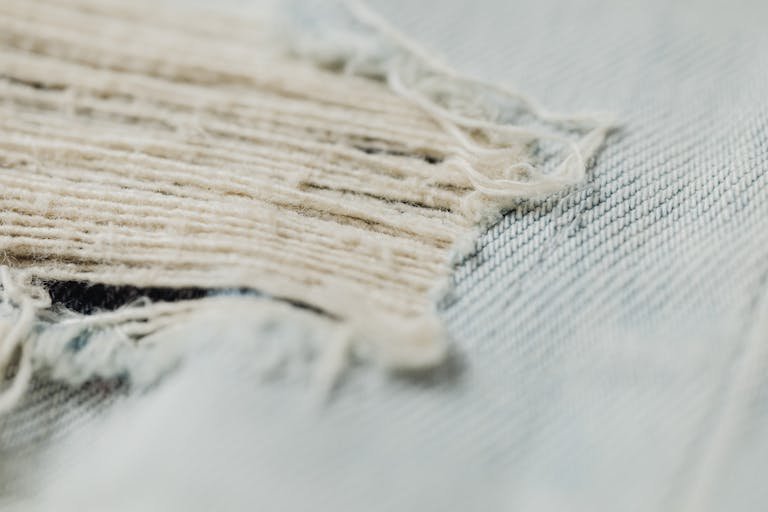
Quality Wool Garments (Sweaters, Socks, Blankets, Scarves)
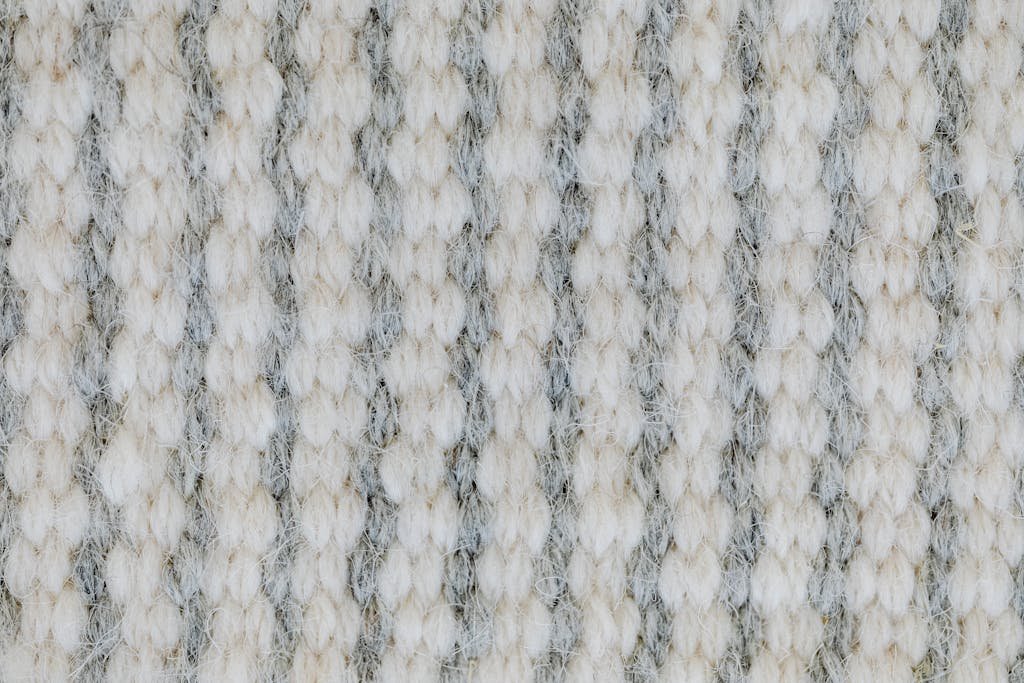
How to De-Pill, Wash, and Store Wool for Lasting Softness and Integrity
Wool is a truly remarkable natural fiber—it’s exceptionally warm, incredibly breathable, and boasts natural odor-resistant properties. However, its unique fibrous structure also makes it susceptible to shrinking or felting if it’s not washed and dried with care. The microscopic scales on wool fibers can interlock and contract permanently when exposed to heat, aggressive agitation, and sudden temperature changes. Proper care, including gentle washing and mindful drying, keeps these fibers smooth, preserves the garment’s original shape, and maintains its luxurious softness.
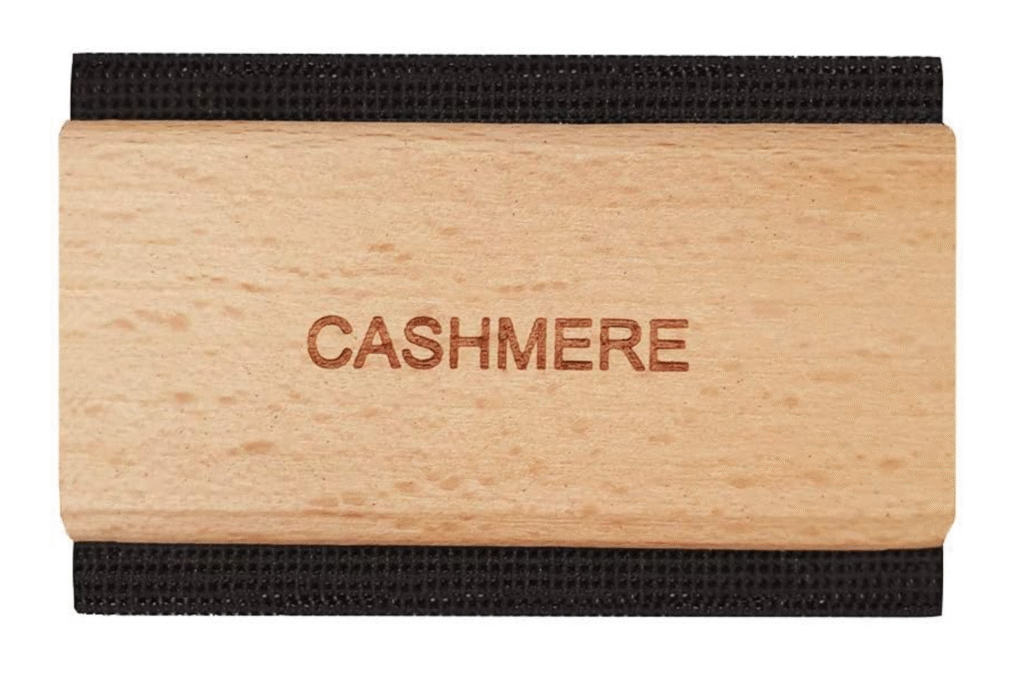
- Tools You’ll Need: A high-quality sweater comb or an electric fabric shaver, a pH-neutral, wool-specific detergent (such as Woolite or Eucalan), a protective mesh laundry bag, and a flat drying rack or several clean, absorbent towels.
- Frequency:
- De-Pilling: As needed, whenever pills start to form.
- Washing: Only when truly necessary (wool is naturally resistant to odors and doesn’t need frequent washing).
- Storage: During the off-season, store cleaned wool garments with cedar blocks or lavender sachets to deter moths.
The Gentle Wool Care Routine:
- De-Pilling Before Washing: Lay your wool garment flat on a clean surface. Gently use a sweater comb or an electric fabric shaver to carefully remove any pills (the small, annoying balls of fiber that tend to form in areas of high friction, like under the arms or on cuffs).
- Gentle Washing: For optimal results, hand wash your wool item in a basin of cool or lukewarm water with a small amount of pH-neutral, wool-specific soap. Gently agitate the garment, then allow it to soak for about 15-20 minutes. Alternatively, if using a machine, select the gentlest, cold-water cycle available and place the garment inside a protective mesh laundry bag to minimize agitation.
- Critical Drying – No Dryer! This step is absolutely critical. Never, under any circumstances, put wool in a machine dryer. The heat and tumbling will almost certainly cause it to shrink or felt. Instead, gently squeeze out any excess water (do not wring or twist the garment, as this can stretch or damage the fibers). Lay the garment flat on a clean, dry towel. You can roll up the towel with the garment inside to absorb more moisture, then unroll it and lay the garment flat on a drying rack or another fresh, dry towel. Reshape it gently to its original dimensions and allow it to air dry completely, away from direct heat or harsh sunlight.
- Smart Storage: Once completely dry, fold your wool garments (hanging can stretch them out). During the off-season, store them in breathable bags with natural moth repellents like cedar blocks or lavender sachets to protect them from pests.
🌬️ Wool: The Natural Ventilator
One of wool’s superpowers is its natural ability to breathe and resist odors. Often, a simple airing out on a hanger is all a wool garment needs to refresh it, rather than a full wash. This reduces wear and tear and preserves its integrity.
The BIFL Maintenance Calendar: Your Quick-Reference Schedule
No need to memorize every detail! Bookmark this section, print it out, or save it to your home screen. This comprehensive table synthesizes all the crucial information into a single, easy-to-follow schedule. Consider this your actionable product care cheat sheet, designed to ensure your durable goods thrive for decades.
|
Frequency |
Task |
Applicable Items |
Tools Needed |
|---|---|---|---|
|
After Every Use |
Clean, Dry & Oil |
Cast Iron Cookware |
Stiff Brush, Hot Water, High-Smoke-Point Oil |
|
After Every Use |
Hand Wash & Dry Immediately |
High-Carbon Steel & Quality Knives |
Soap, Water, Clean Towel |
|
Weekly / Before Use |
Hone the Edge |
Kitchen Knives |
Honing Steel |
|
Monthly |
Treat with Food-Grade Oil/Cream |
Wooden Cutting Boards, Utensils |
Food-Grade Mineral Oil, Board Cream, Soft Cloth |
|
Every 2-6 Months (or as needed) |
Sharpen the Blade |
Kitchen Knives, EDC Knives |
Whetstone / Guided Sharpener |
|
Every 6-12 Months (or when dry) |
Clean & Condition |
Leather Goods (Boots, Bags, Belts, Wallets) |
Horsehair Brush, Leather Cleaner (optional), Leather Conditioner, Soft Cloths |
|
Seasonally / As Needed |
Wash Gently, De-Pill & Store Properly |
Wool Garments (Sweaters, Blankets, Socks) |
Wool-Specific Soap, Sweater Comb/Shaver, Mesh Bag, Drying Rack, Cedar Blocks |
Conclusion: From Consumer to Caretaker – Embracing a Legacy of Durability
Embracing the “Buy It For Life” ethos is far more than a purchasing decision. It’s about making a fundamental, empowering shift in your relationship with your belongings. It’s about transitioning from being a passive consumer to an active, informed caretaker. The small, consistent tasks outlined in this calendar are not merely chores. They are rewarding rituals that protect your valuable investments, dramatically enhance the performance and enjoyment of your tools, and connect you more deeply with the objects you choose to bring into your life. By caring diligently for your gear, you become an integral part of its story, adding your own meaningful chapter to its long, useful, and beautiful life.
Don’t let your quality goods merely exist; help them thrive. Bookmark this page now and make it your ongoing reference. Pick just one task from the calendar, perhaps conditioning those beloved leather boots this weekend. Or finally giving your favorite kitchen knife the proper sharpening it deserves. By taking that first deliberate step, you’ll be actively investing in its future, ensuring your BIFL gear truly lasts a lifetime and beyond.
What’s YOUR secret to making durable goods last?
We’d love to hear your top maintenance tip for a favorite Buy It For Life item. Share your wisdom and help our community thrive!